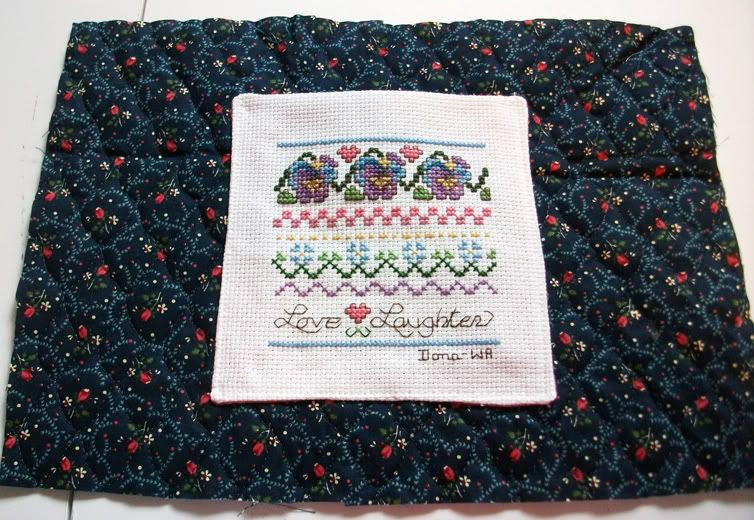
Adding a Cross-stitch Pocket
The following instructions describe how to turn any cross-stitched piece small enough to fit onto the front of a walker, wheelchair, or tote bag into a functional pocket.
1. Cut your cross-stitch piece to the appropriate size for the pocket.
2. Cut a piece of fabric the same size as the stitching for use as a lining.
3.  Lay the pocket lining right side up and place the cross stitch piece so the right sides of the lining & cross stitch piece are together.
4. Stitch around the pocket, leaving a place to turn out at the bottom.
5. Turn-out pocket, poking out the corners so it's square.
6. Iron the pocket, turning in the opening at the bottom. There is no need to hand-stitch shut, as you will sew it to the front.
7.  Sew onto the front of your bag.